


How To: Build a Wattle & Daub Wall
Wattle and Daub' is one of our oldest building techniques. It certainly dates back to the Bronze Age, around 3000 years ago, and is quite possibly much older still. Most Mediaeval buildings incorporate this technique, and its modern equivalent is plaster-board. 'Wattling' is a way of building walls by weaving sticks in and out of upright posts. 'Daubing' is the method used to weather proof these sticks.
To prepare, collect stout sticks that will be the posts. These are usually around 3-4 inches thick, straight, and about 6 foot in length, depending on the height of wall you want. Any wood will do, but the harder the better. Oak or Chestnut is best. Some say that if you char the wood over a fire, it lasts longer in the ground.
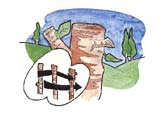
Hammer posts into the ground
Spike the end of the posts, and hammer them into the ground. Their spacing depends on how strong you need your wall. 12 inches is good. When it comes to depth, the deeper the better, but on the whole they don't need to be very deep. 8-12 inches is plenty.
Find suitable wattle material
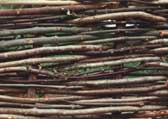
Harvest long, pliable sticks, that can be woven in and out of the posts. These can be branches, but they tend to snap more easily than young trees. Traditionally, the wood of choice is Hazel, for it naturally grows into long, pliable sticks.
Weave the bendy sticks, or 'wattle', in between the posts. This is an easy and enjoyable process. They should be laid like bricks, in that a space between two sticks would have, above and below it, a stick of one continuous length. Where there is to a door, a post is to be inserted next to the door post, specifically to hold the wattle.
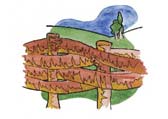
That's the wattling done. Now mix together cow manure, earth, clay, and straw in equal proportions. This can be done by stomping around with Wellington boots. Water is added a little at a time until all has mixed and turned into a heavy paste. This mixture is the 'Daub', it protects the wattle wall from the elements, and prevents draughts.
 Smear
the daub onto the wall
Smear
the daub onto the wallWhen the daub is ready, throw, or smear the it onto the wall. Both sides need to be covered evenly, and all sticks should be covered with at least an inch's thickness of daub. Ensure that the daub is pushed into the gaps between the wattle.
Home | News
| First Roundhouse | New
Roundhouse |Gallery Index
Project | Resources
| Contact | Help
All content: © The Roundhouse Project 1997-2010